
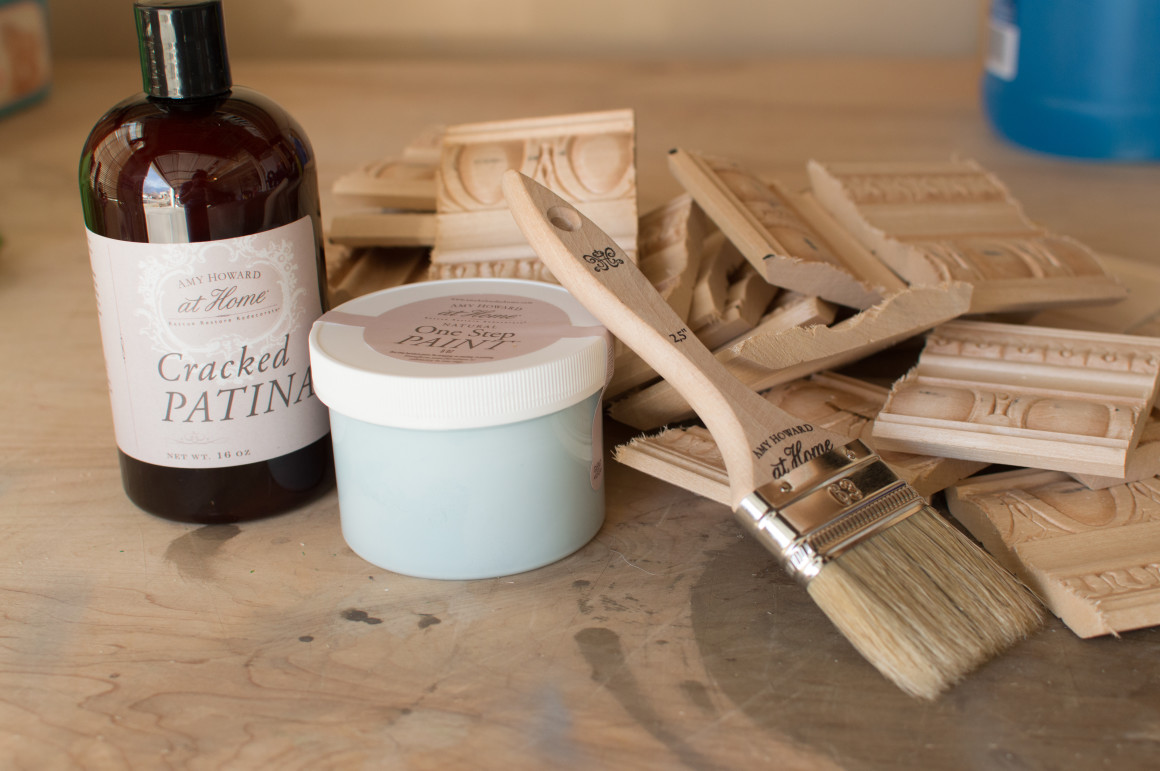
I had so much fun using Amy Howard at Home One Step Paint and Cracked Patina this weekend! Before I go all in on a project with a new product, I like many otherwise crafters, wanted to test it out and see how it works and how I would like it. This blog isn’t a step by step for using the Cracked Patina because Amy Howard has done an awesome job of doing that already. Check out the Amy Howard YouTube channel for those directions. What you will find here are some tips and recommendations to make your project with Cracked Patina go swimmingly.
Cracked Patina Tips:
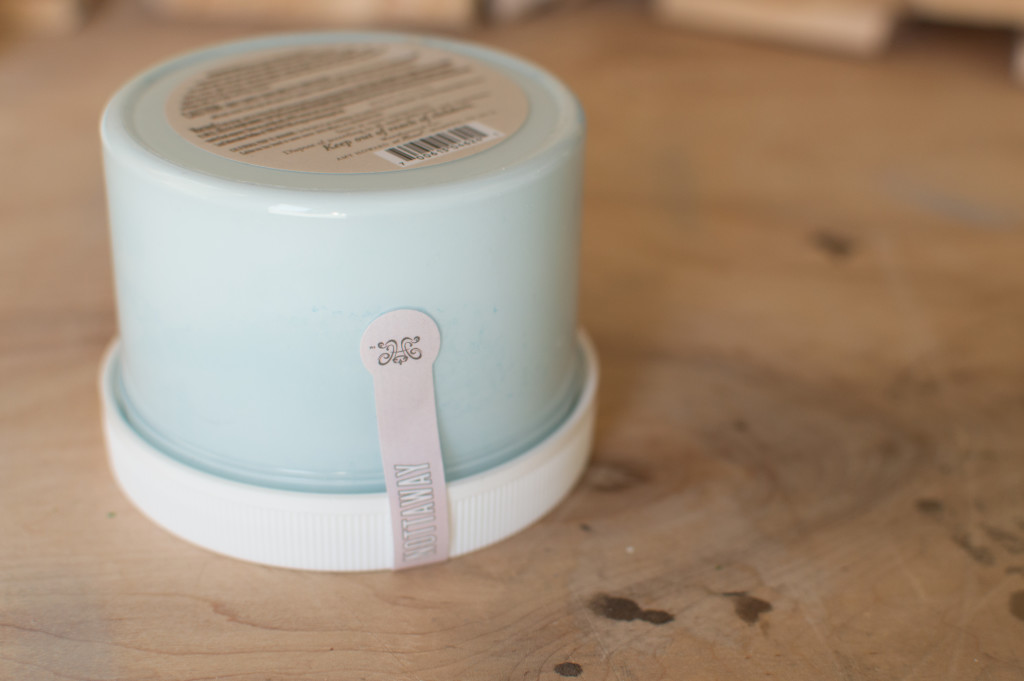
- Definitely DO remember that you need to allow the One Step Paint to lay flipped upside down for 30-60 minutes before using it. That means if you want to start your project at 11:00 flip that little guy over at 10:30.
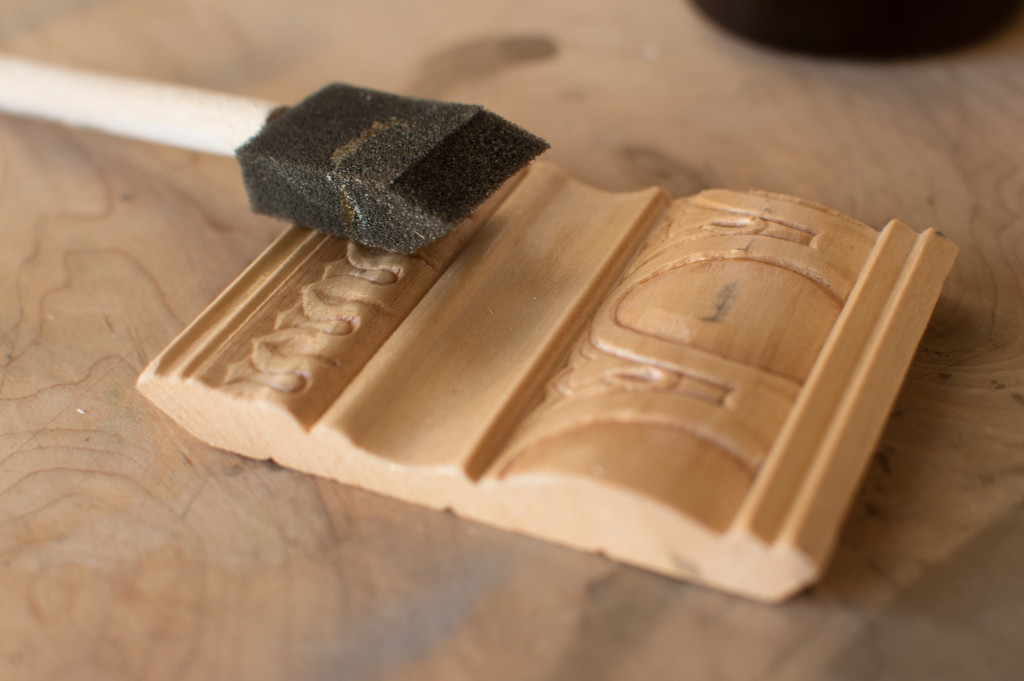
- Definitely DO sand the wood to remove loose wood fibers. I was testing on unfinished wood, but this step was especially important when I tested applying it to a piece of wood that had been finished. Give that paint a fighting chance by roughing up the surface and removing some previous paint and sealant.

- I tried 2 different orders for this project to see how the results would vary. First I tried Cracked Patina then paint. Second I tried paint, Cracked Patina, followed by a second coat of paint. I would recommend going the pre-painted option, but it would be cool to test out a dark stain, Cracked Patina, and then paint….maybe next weekend!

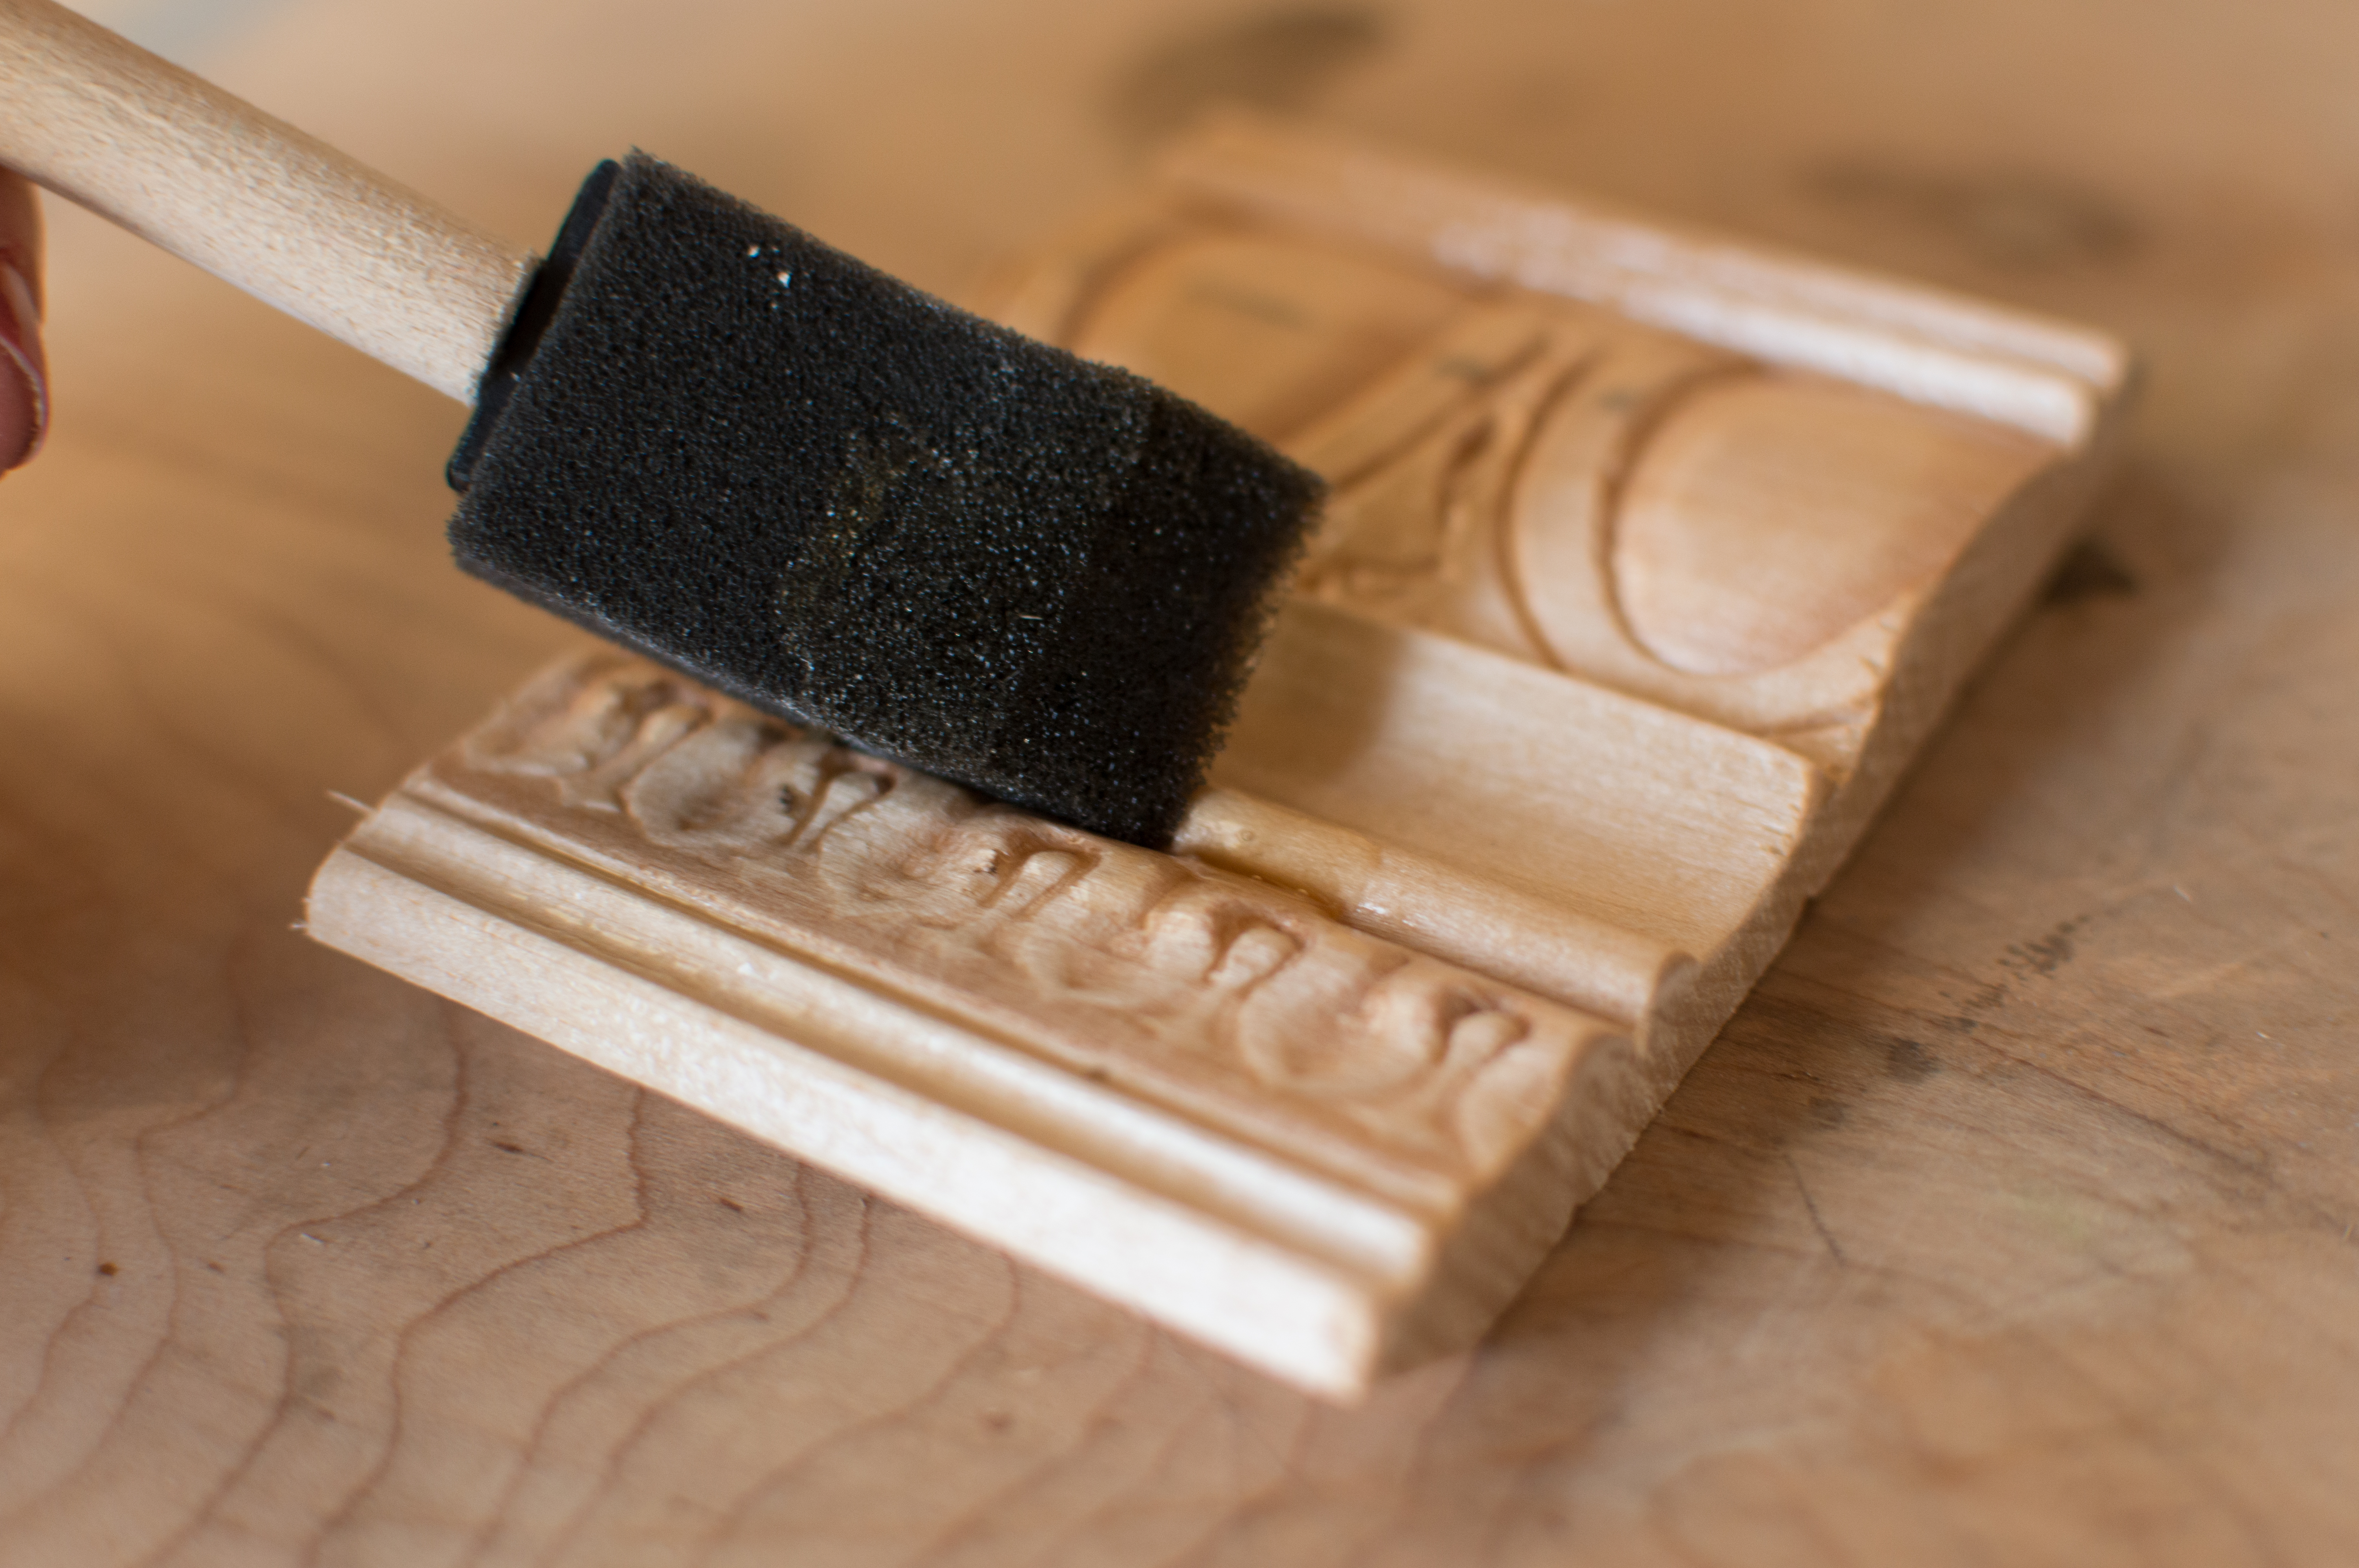
- The directions for the Cracked Patina say to let it dry 30 minutes before applying a coat of paint and it is awesome stuff because you can actually wait 7 days! Like oh say from one Saturday to the next, and the Cracked Patina will still do its thing once you apply that top coat of paint. All that staying power and you can still rinse it out of a totally hardened brush with a little soaking in hot water. Not like I am the kind of crafter to forget to rinse out a brush, but if I were I might have discovered the Cracked Patina is very forgiving.
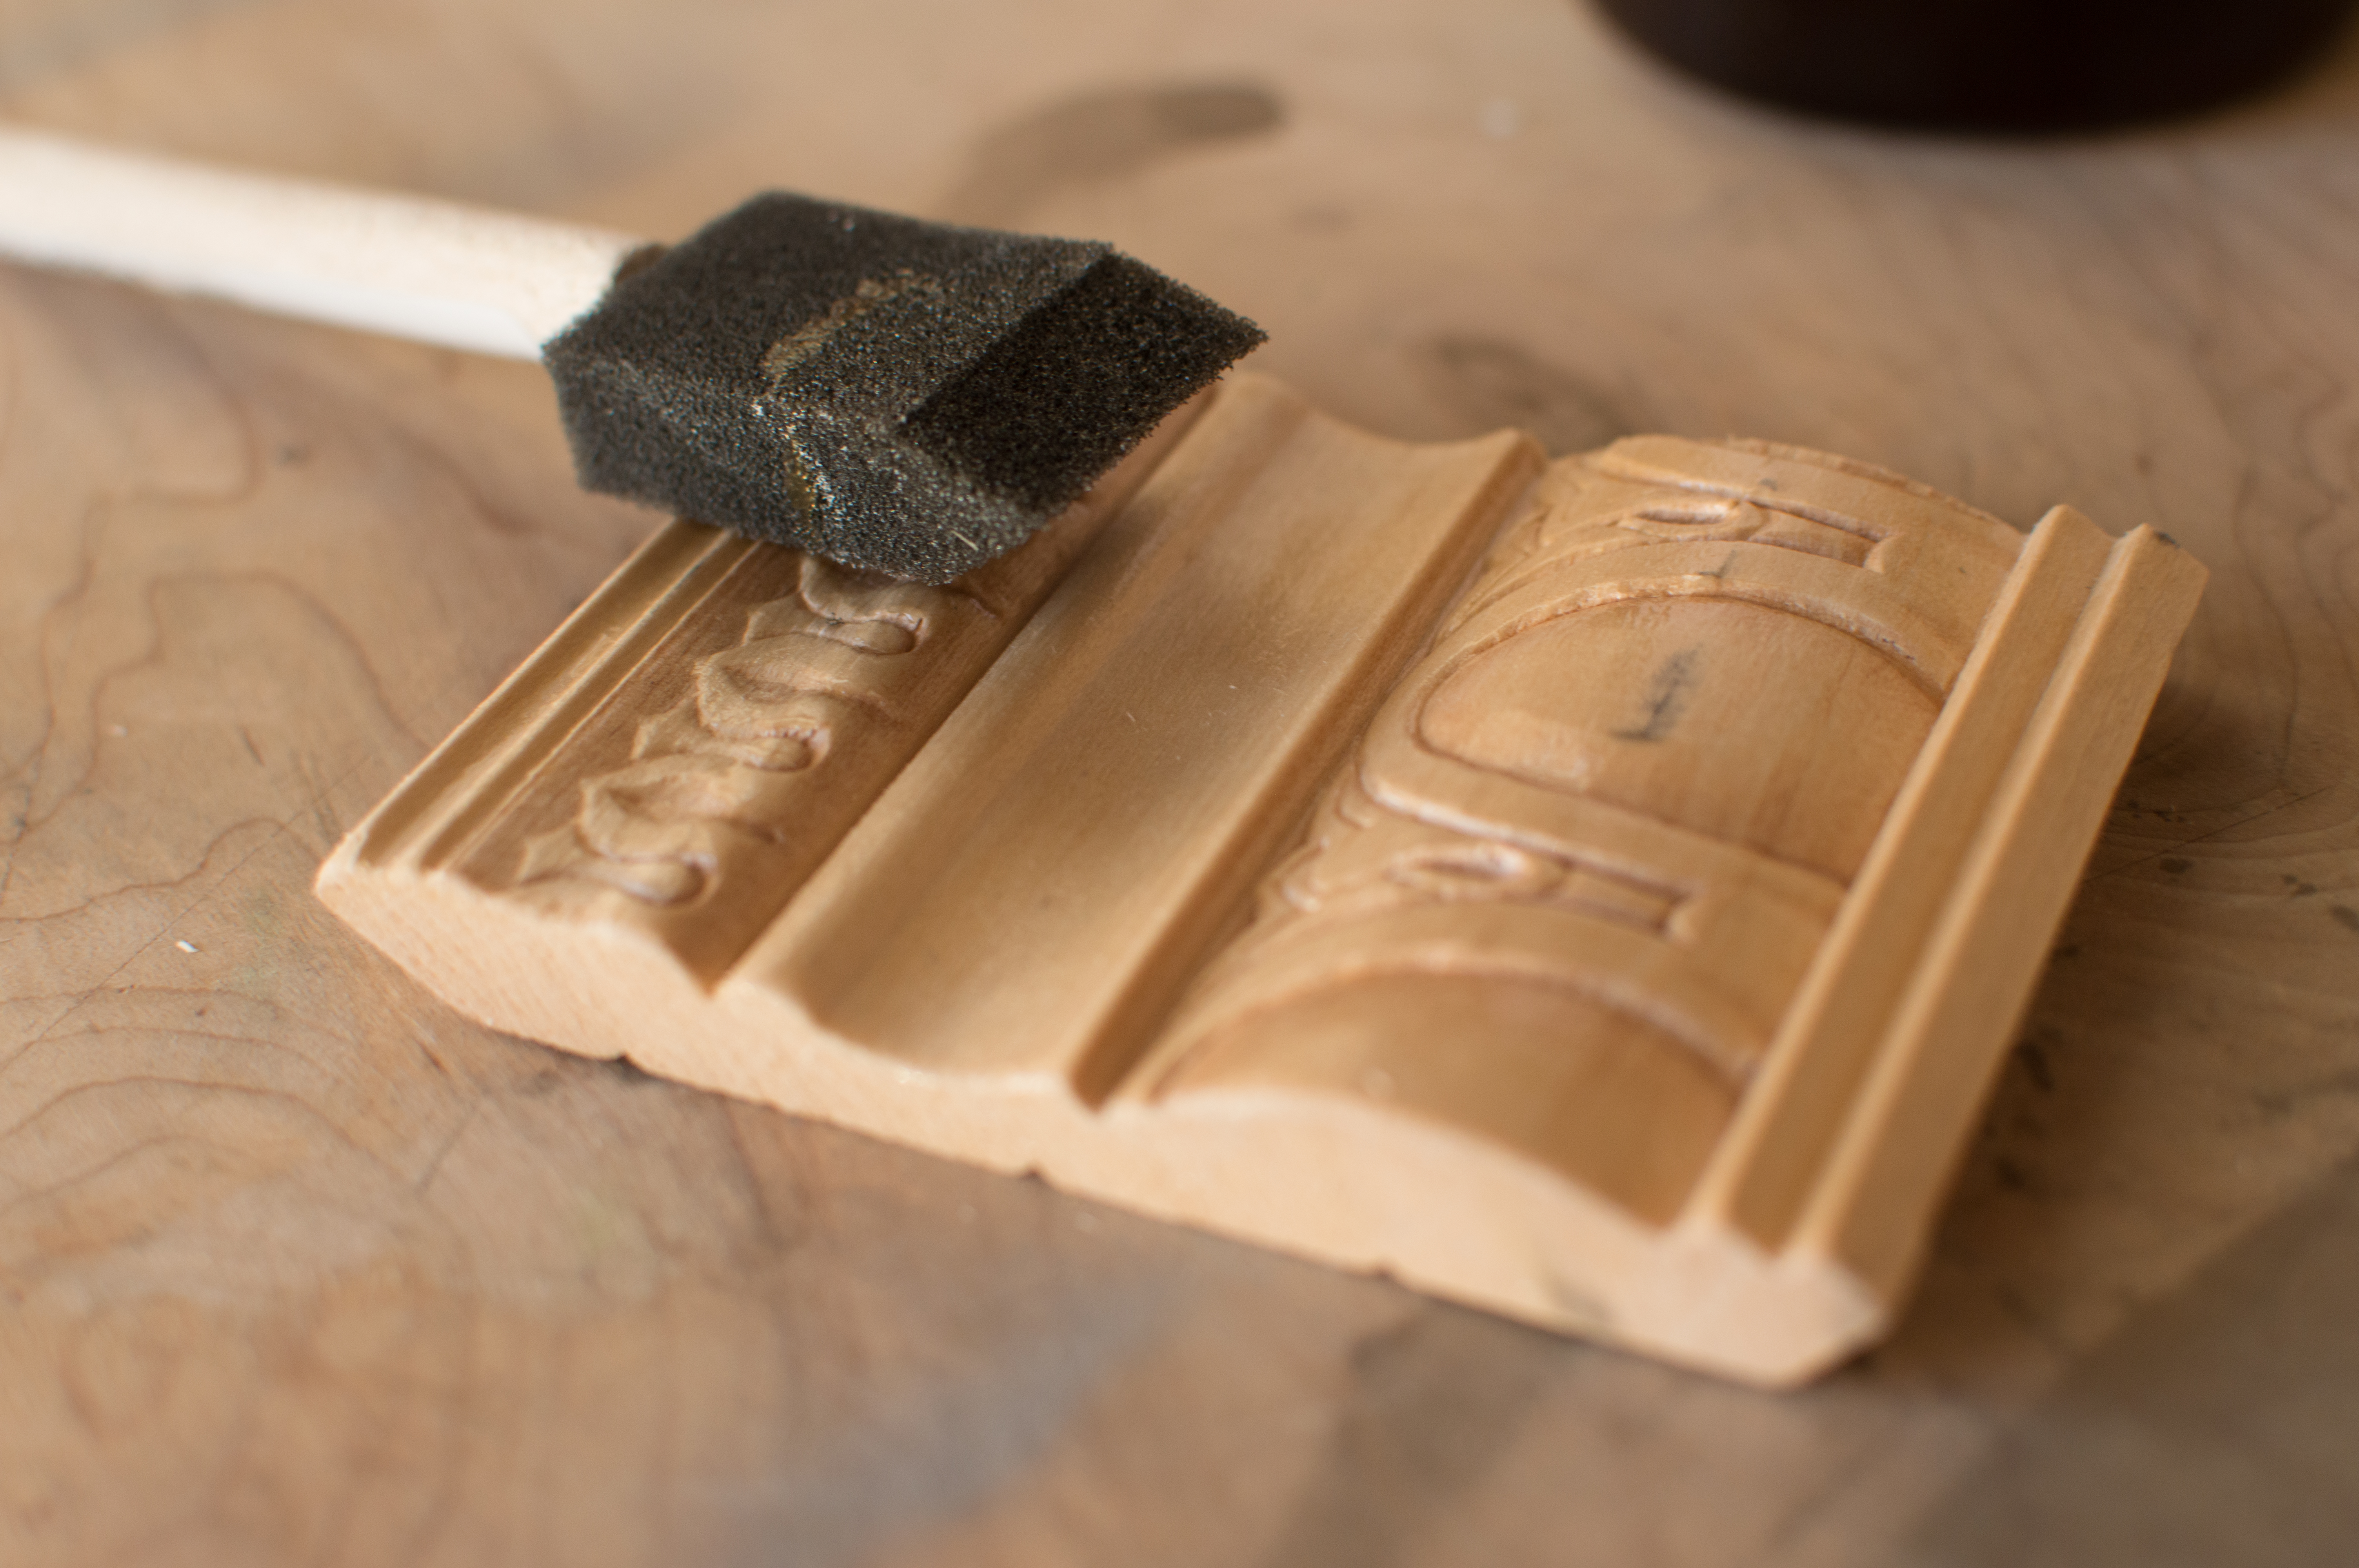
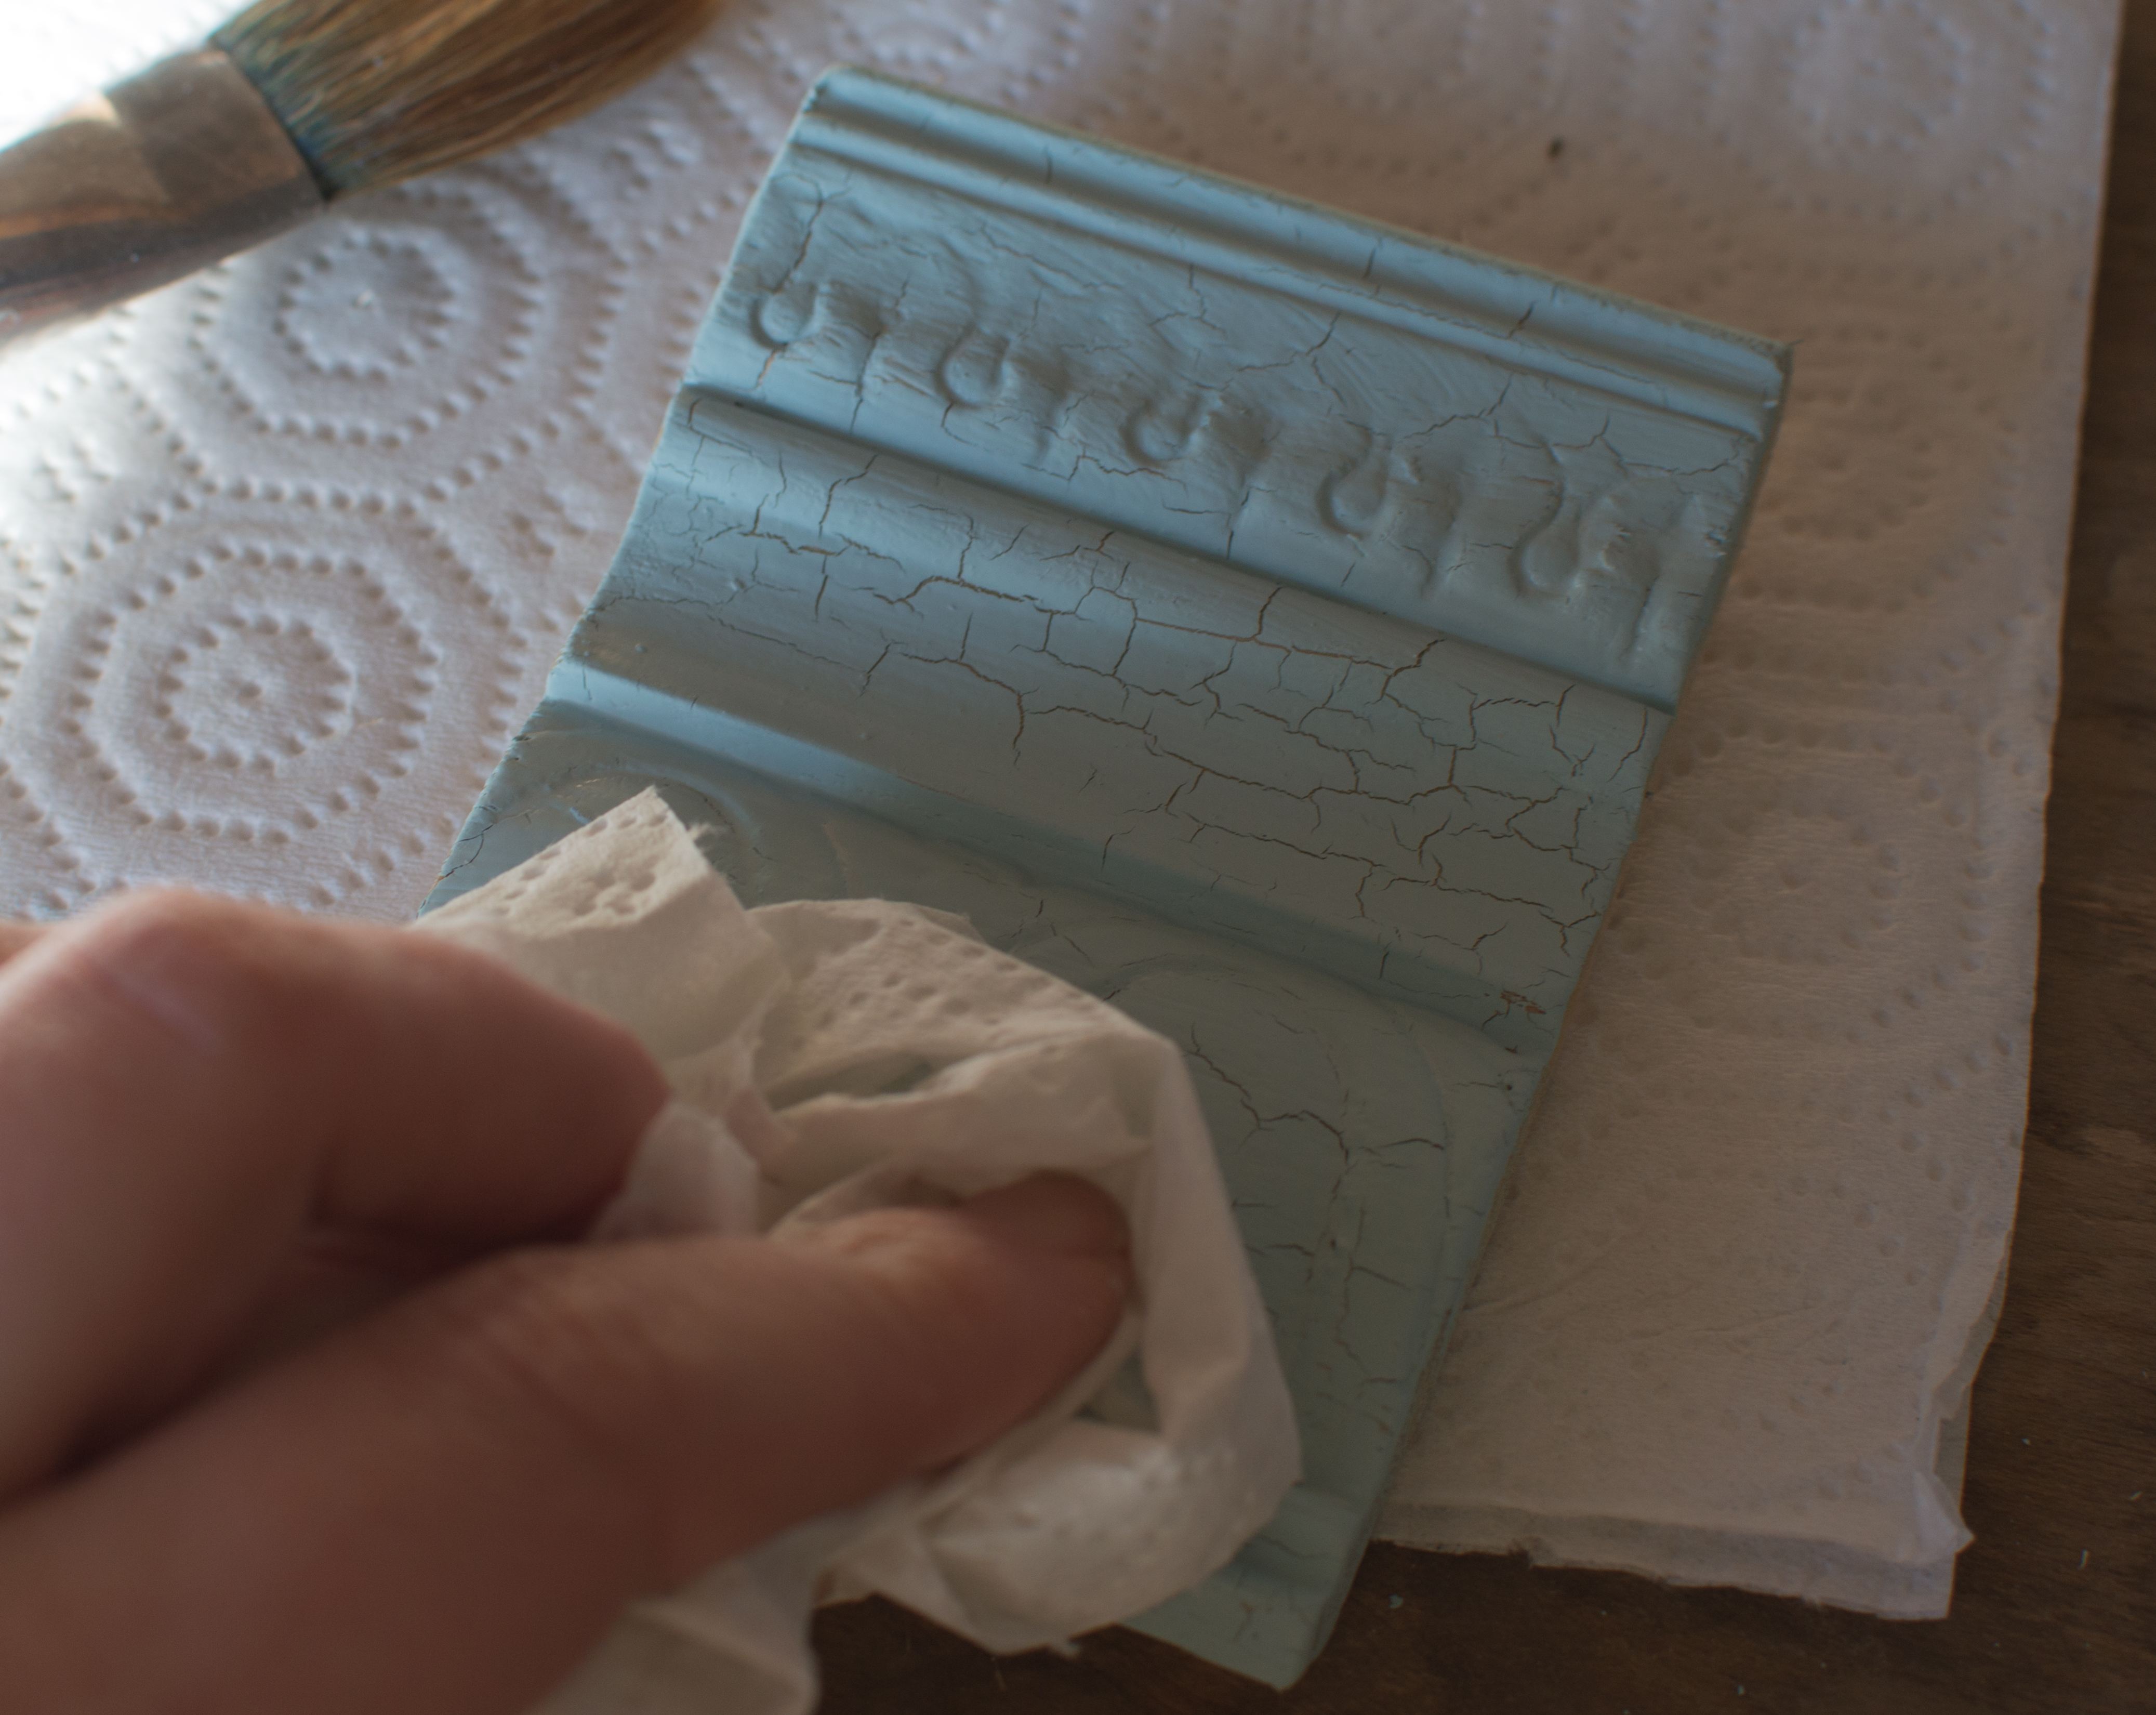
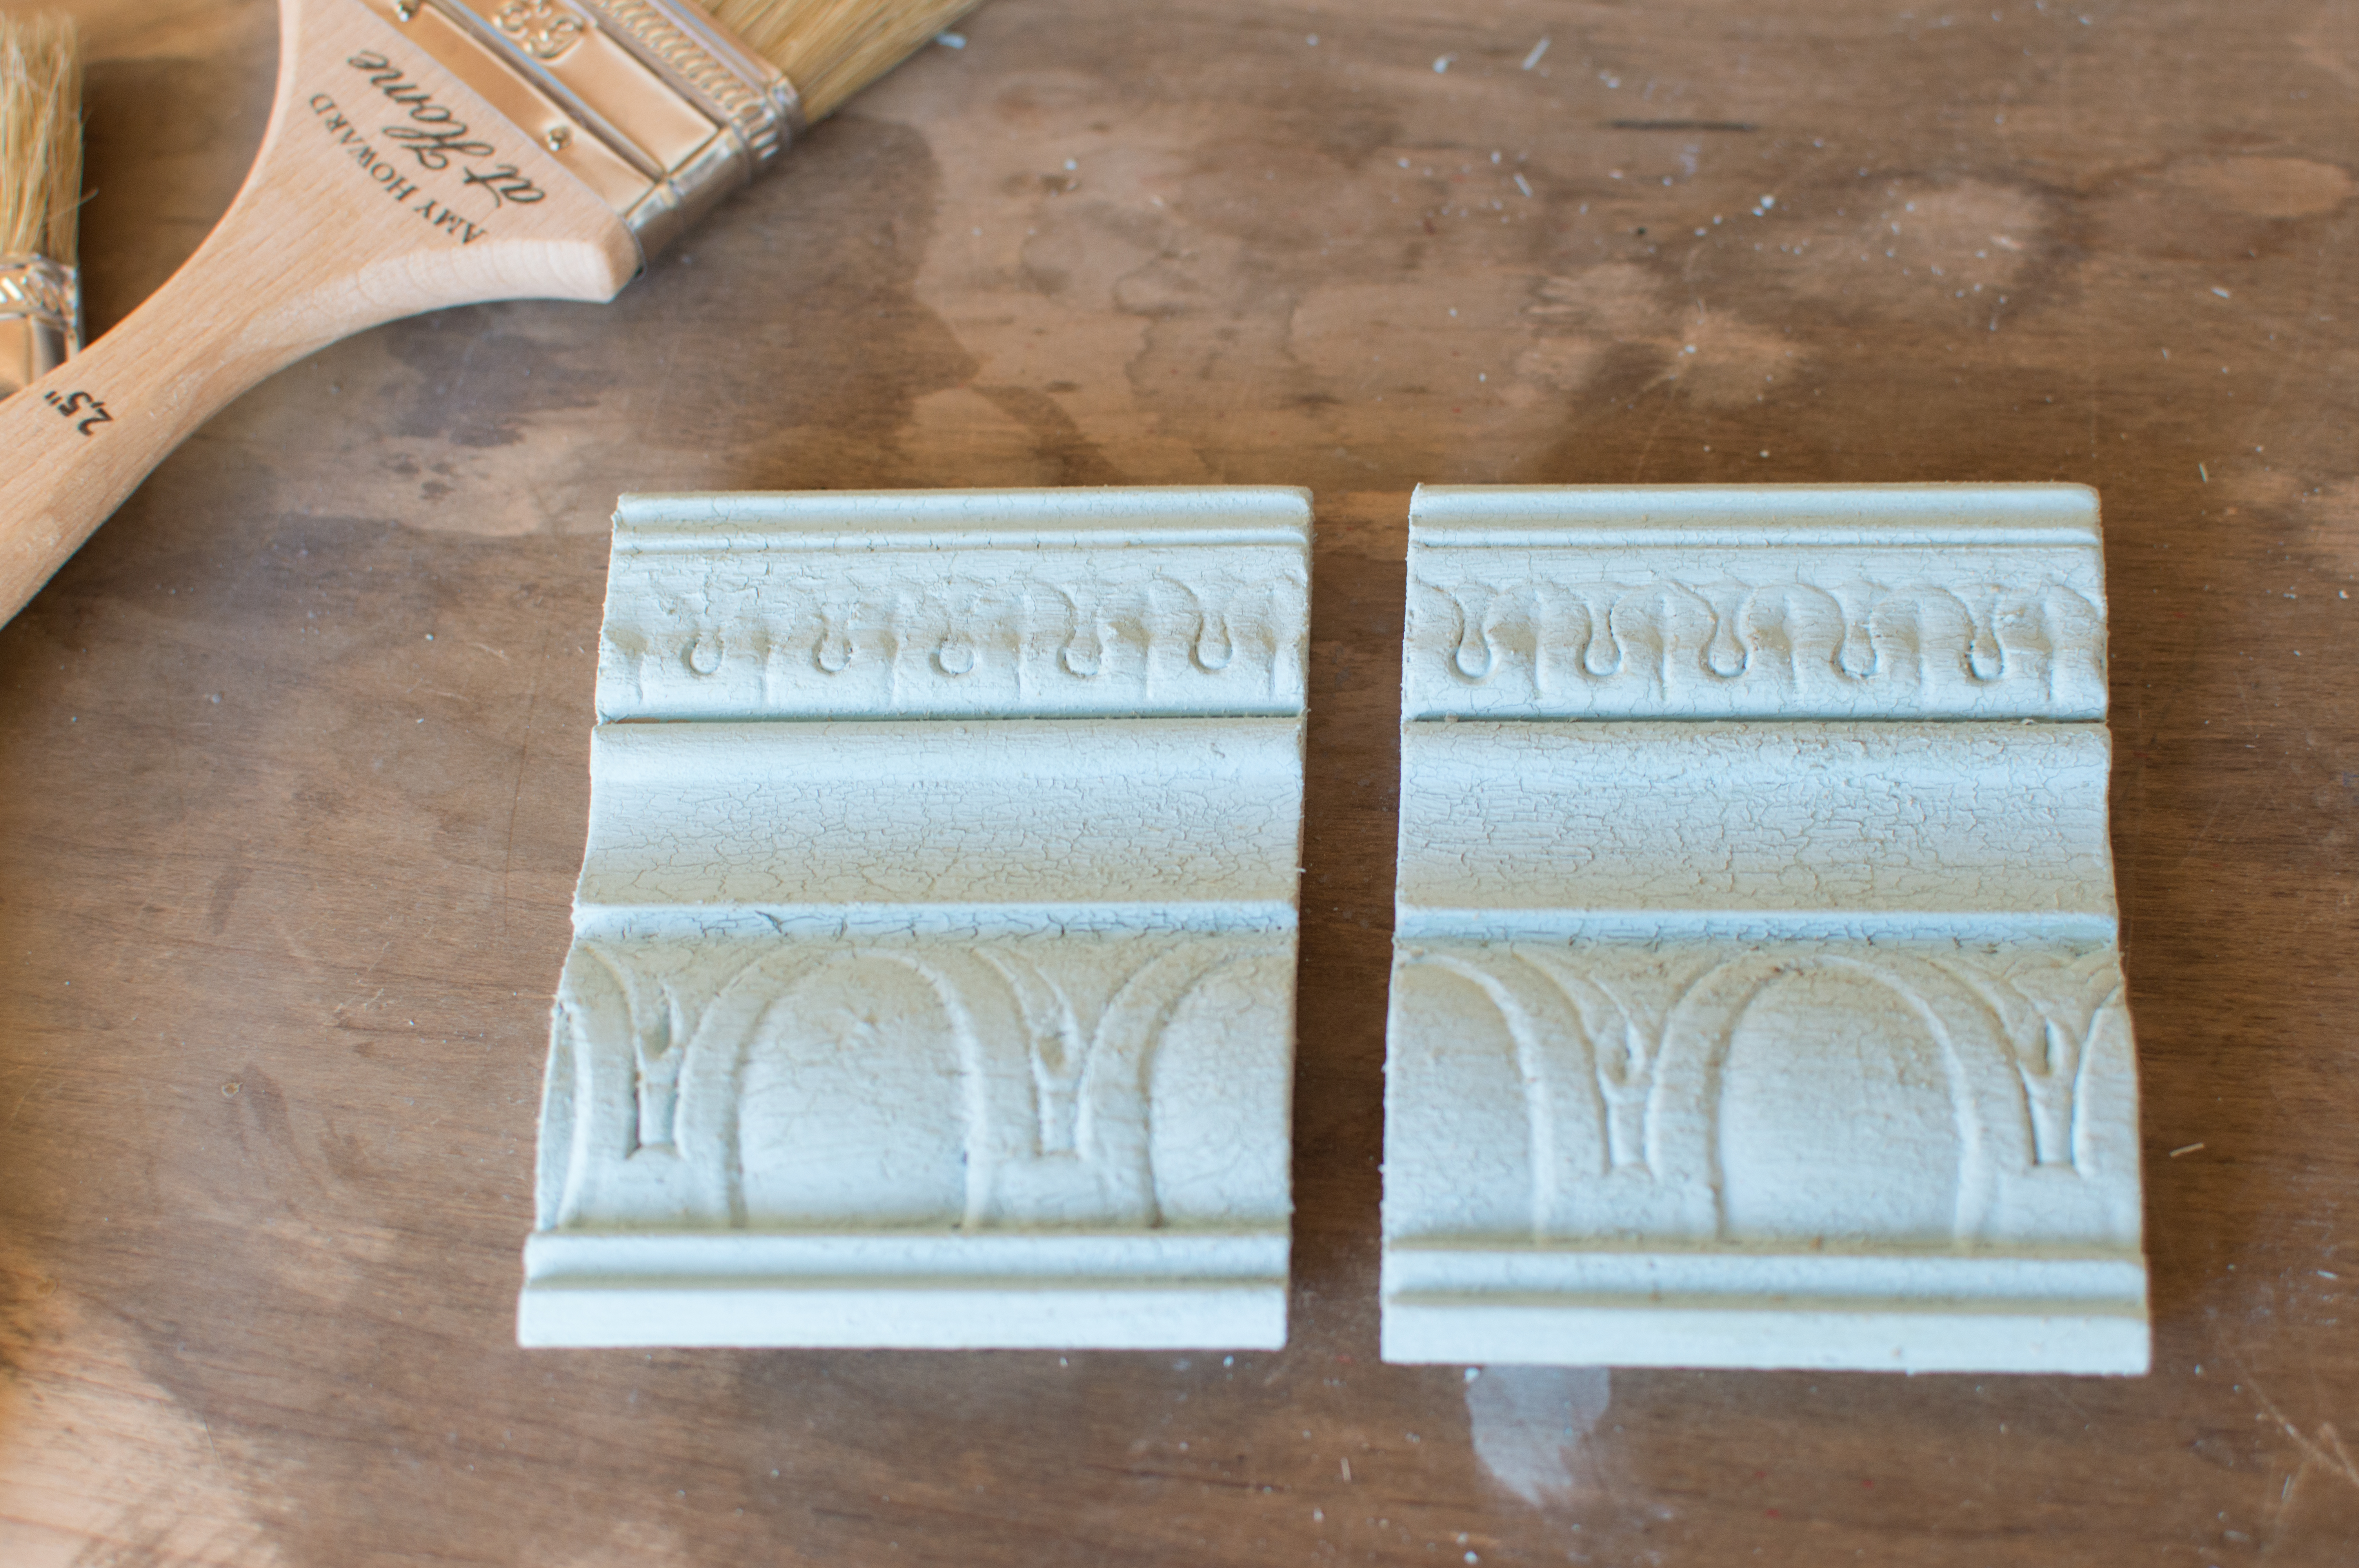
- I highly recommend doing light coats of paint, especially if you are working on a piece with many crevices and grooves. Not only does heavier application take longer to dry, but as you will see a heavy coat does not respond well the Cracked Patina, yeah this was a live and learn moment. Look that nice thick layer of paint…oh the naive. This was on top of the Cracked Patina layer.
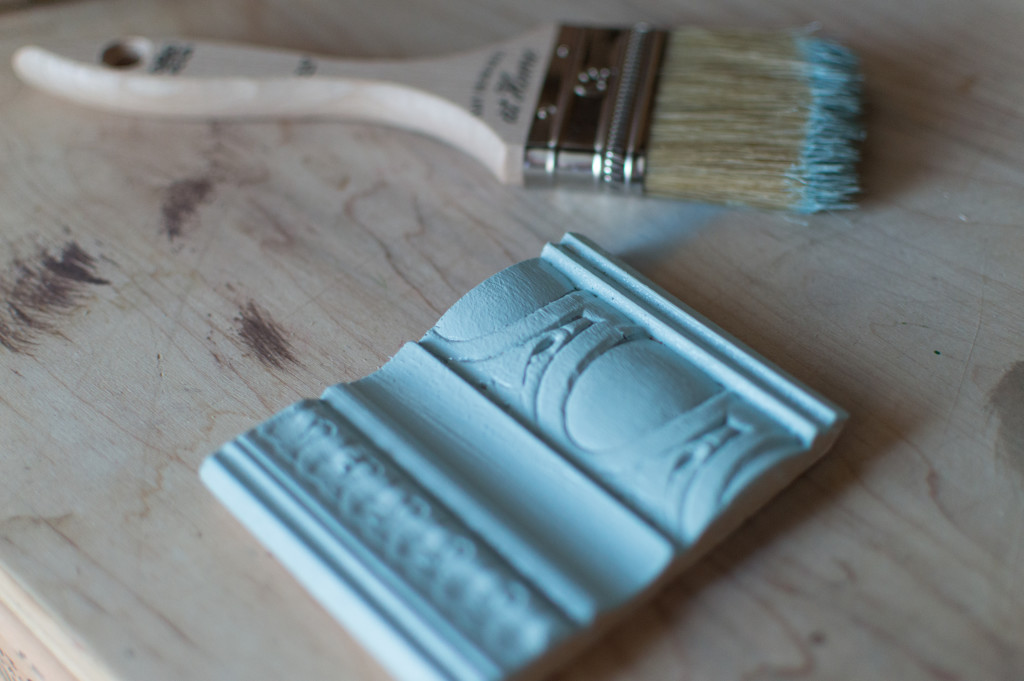
- You can’t see it, but in this very moment of “scuffing the surface” of the paint, I accidently took off all the paint with my fingernail. With the thicker paint also comes much larger cracks, which I wasn’t really fond of. So amateur tip, use a towel or rag instead of a paper towel so you won’t have to scrub as hard to remove some of the chips and then you won’t end up completely ruining your project by scratching a big gash in your thick paint. The struggle.

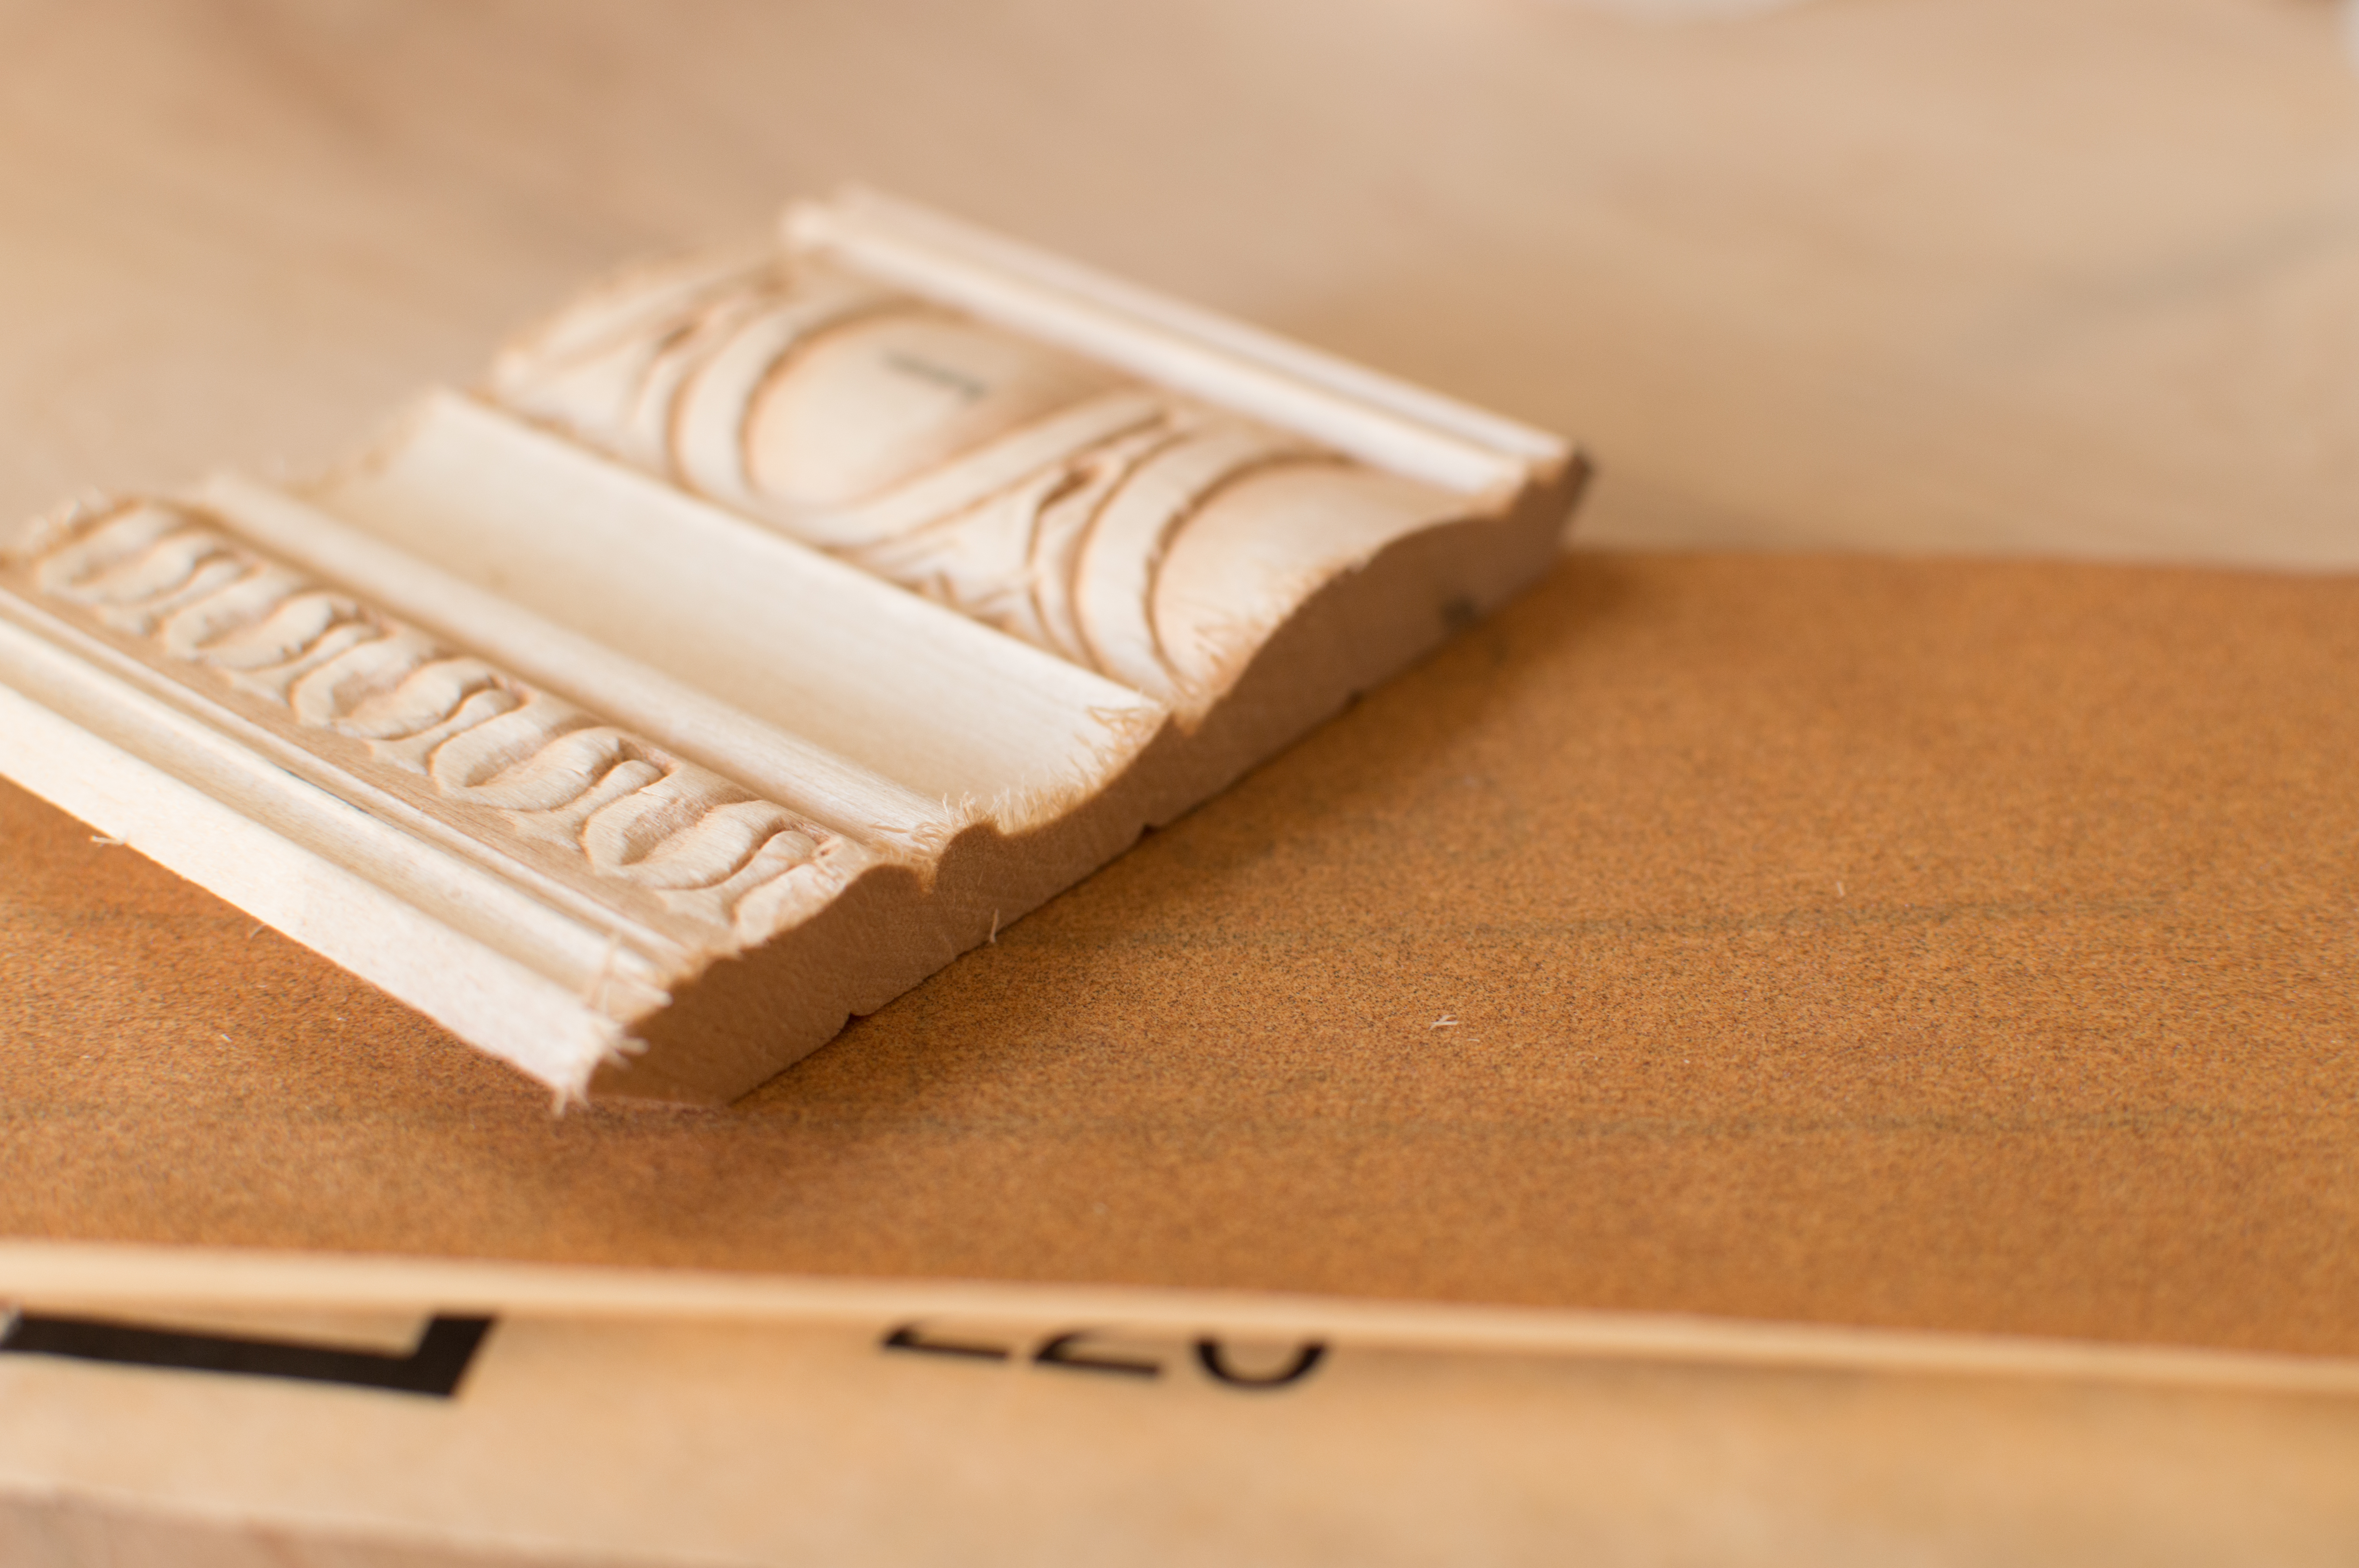
These were my finished pieces I love. Thin layers of paint and perfect cracking look. Oh, these pieces of wood you ask? No, they aren’t brand spanking new, they were unearthed during an estate sale at an old English cottage. Stay tuned for my first full project with my newly acquired Cracked Patina skills!
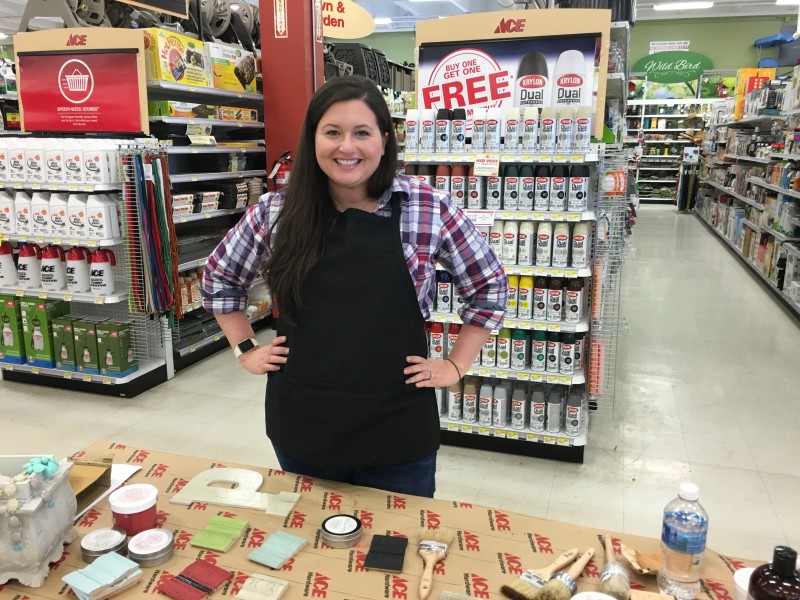
The supplies in this blog were generously supplied by Ace Hardware. Thanks so much Ace!


'Tips for Amy Howard Cracked Patina' has no comments
Be the first to comment this post!